|
Irrigation Watering Schedule
The right controller, when properly scheduled, can result in significant water savings and lower water bills. The goal of an efficient watering schedule is to irrigate only the amount of water that is needed by the plant. Most landscapes are over-watered by as much as 50 percent more water than what the plants need.
To develop a watering schedule that is tailored to your own landscape, do one of the following:
| 1. | For homeowners who wish to take advantage of the latest in high-tech equipment, look into an evapotranspiration (ET) controller. |
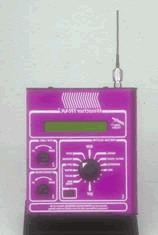
An example of an ET
controller.
The ET controller is a new type of irrigation controller that automates your landscape watering. These controllers are based on weather, soil moisture, air temperature, historic information, or are adjusted by weather stations such as California Irrigation Management Information System (CIMIS).
 
An ET CIMIS weather station. Illustration of ET controller receiving weather data.
These irrigation controllers are designed to be hands-off, automatically adjusting the irrigation schedule based on the needs of the plant material. Check with your water provider for a list of ET Controllers (Note: In addition to the cost of the controller, some companies charge a monthly service fee for access to ET data.).
| 1. | For homeowners who wish to develop their own water schedule, find out how much water your overall landscape consumes. |
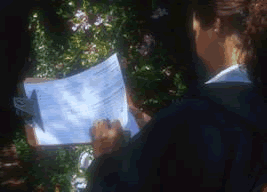
Developing a water schedule.
| 1. | You can find this out by doing the following water audit: |
| a. | Tracking how much water your landscape uses begins with becoming familiar with your water meter. Your water supply is provided by your city or water district and is measured monthly or bi-monthly with the meter. |
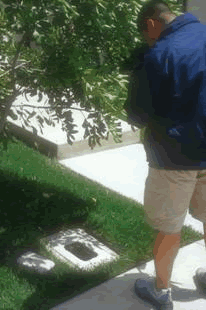
Reading the water meter.
Look at your water meter:
| § | Check to see if the meter is recording any leaks. |
| § | Determine the amount of water your sprinklers distribute (application rate). |
| § | Turn the irrigation clock on. |
| b. | Check the sprinklers at each valve/station: |
| § | Record your findings on a valve/station checklist. |
| § | Check the water pressure while the sprinklers are running. |
| § | Examine irrigation equipment and make any necessary repairs |
and/or replacements.
| c. | Create a watering schedule: |
| § | Learn how much water your plants need. |
| § | Find out the sprinkler flow rate (precipitation rate) with a catch-can test. For any area that is being watered by a sprinkler system, it is a good idea to include a catch-can test, which determines the flow rate of your sprinkler. To perform a catch-can test: |
| - | Set out five or more straight-sided cans (tuna cans work great) on a sprinkler section, such as your lawn. |
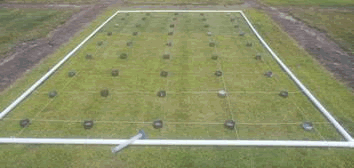
Catch-cans laid out for the sprinkler flow rate test.
| - | Turn your irrigation water on and water for precisely 15 minutes (making sure all the irrigation stations that overlap the area run for 15 minutes as well). |
| - | Measure the depth of water in each can and average the water depth (Add the measurements in the cans and divide by the number of cans.). |
| - | Next, multiply the average depth by 4 to calculate the precipitation rate. This number is the amount of water your sprinklers apply in inches per hour. Its that easy! |
| ▪ | Set the irrigation schedule in the controller to water at night or in the early morning hours. |
| ▪ | Observe the irrigation while it is operating. Adjust the equipment if you find misting due to high pressure, water over-spray, or runoff. |
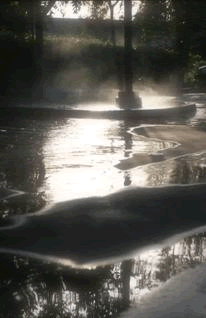
Frequently check on the irrigation
system operating at night to be
sure it is not causing runoff.
Now that youve designed and installed your garden and irrigation system, go to Garden Care to learn how to care for them.
| 